You were just trying to see if you could turn our freelance work into a valuable business. But now, if you're reading this, it means you're ready to take the next step, because:
- You’ve realized your business is growing.
- Legal stuff has started popping up.
- Clients are asking for invoices.
- Or you just need a smoother, easier way to get paid.
In this article, I will guide you through everything from the smartest way to do invoices, through different types, and essential things you should never forget.
Ready? Let’s jump in!
Top 5 ways to invoice for freelancers
In this section, you’ll discover the simplest ways to create an invoice as a new freelancer or, if you’re already invoicing, how to make the whole process even easier!
1) DIY templates (Docs/Sheets)
Templates are great for documenting your invoice visually ahead of time.
An invoice template in Docs, Sheets, or anywhere else doesn’t count as an official invoice without all the required legal and business elements, such as
- a unique invoice number,
- your business information,
- customer details, dates,
- itemized goods/services,
- totals, and applicable taxes or VAT.
There’s a lot of hidden work behind the scenes, like
- calculating taxes,
- sending manual reminders, and
- keeping track of documents.
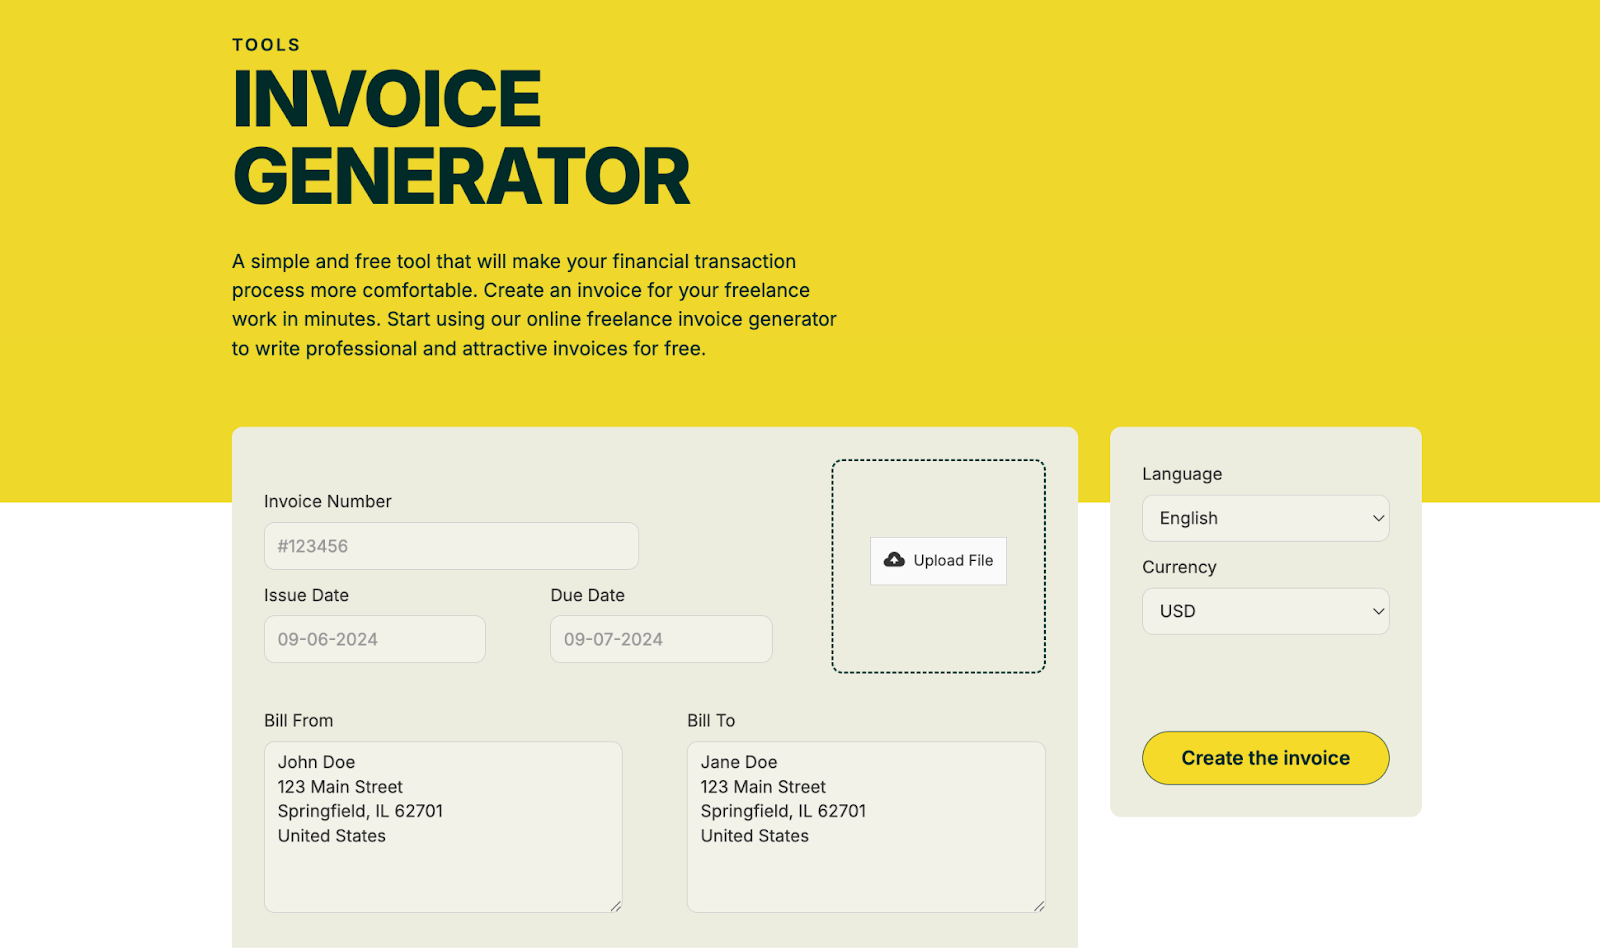
✨Try Ruul's free Invoice Generator! Make your invoice, send the link, and once both parties agree, you can proceed to issue the actual invoice.

2) Freelance marketplaces
This is usually the method chosen by those new to freelancing. This way, you don't have to worry too much about invoicing at the beginning.
The top freelance marketplaces can cover the invoicing step for the client. But you still need to pay your taxes to your country.
Freelancers are responsible for declaring and paying taxes on income earned from Fiverr, Upwork, and similar platforms
- filing as self-employed under their country’s rules, and
- maintaining accurate records of all income and expenses.
Many countries now require digital platforms to report user earnings to tax authorities (for example, DAC7 in the EU). This way, you inform authorities of your income from platforms like Fiverr and Upwork.
3) Global payment processor
Global payment gateways are another solution that gives you a medium level of control. Their main purpose is to transfer money safely from one point to another.
The role of a payment processor in the freelancer–client relationship is to:
- Let you create invoices (not all do),
- Process payments from clients (this is their main job), and
- Pay the freelancer.
Here’s how it works:
- You send an official payment request (invoice) through the payment processor.
- The client pays using a credit card or bank account.
- The platform processes the payment, takes its commission, and transfers the rest to your wallet.
On payment processors, you are listed as the “legal seller” on the invoice.
This means all legal responsibilities are yours. You’re solely responsible for declaring your income and complying with your country’s tax laws.
If you want more automation, invoicing software can handle most of these steps for you. That's exactly what I was going to say. 👇🏻 Let's continue.
4) Invoicing software
Invoicing software is the main tool you use to issue real invoices to your clients.
Apps like QuickBooks, FreshBooks, Zoho Invoice, or Stripe Invoicing can:
- Create invoices under your name
- Simplify design, numbering, and VAT calculations
- Add payment links (for example, a Stripe link)
But, you’re still the legal seller.
All tax, VAT, and income declarations are your responsibility.
So, the software is just a tool, not a legal representative.
- The client pays you directly (the payment goes into your account).
- Taxes, currency handling, and legal reporting remain your job.
Most invoicing tools charge a monthly subscription, even if you don’t issue any invoices that month. Pay-as-you-go models are rare here.
Next, we’ll look at an option that can handle everything on your behalf.
5) Let someone else handle the invoice and tax (MoR)
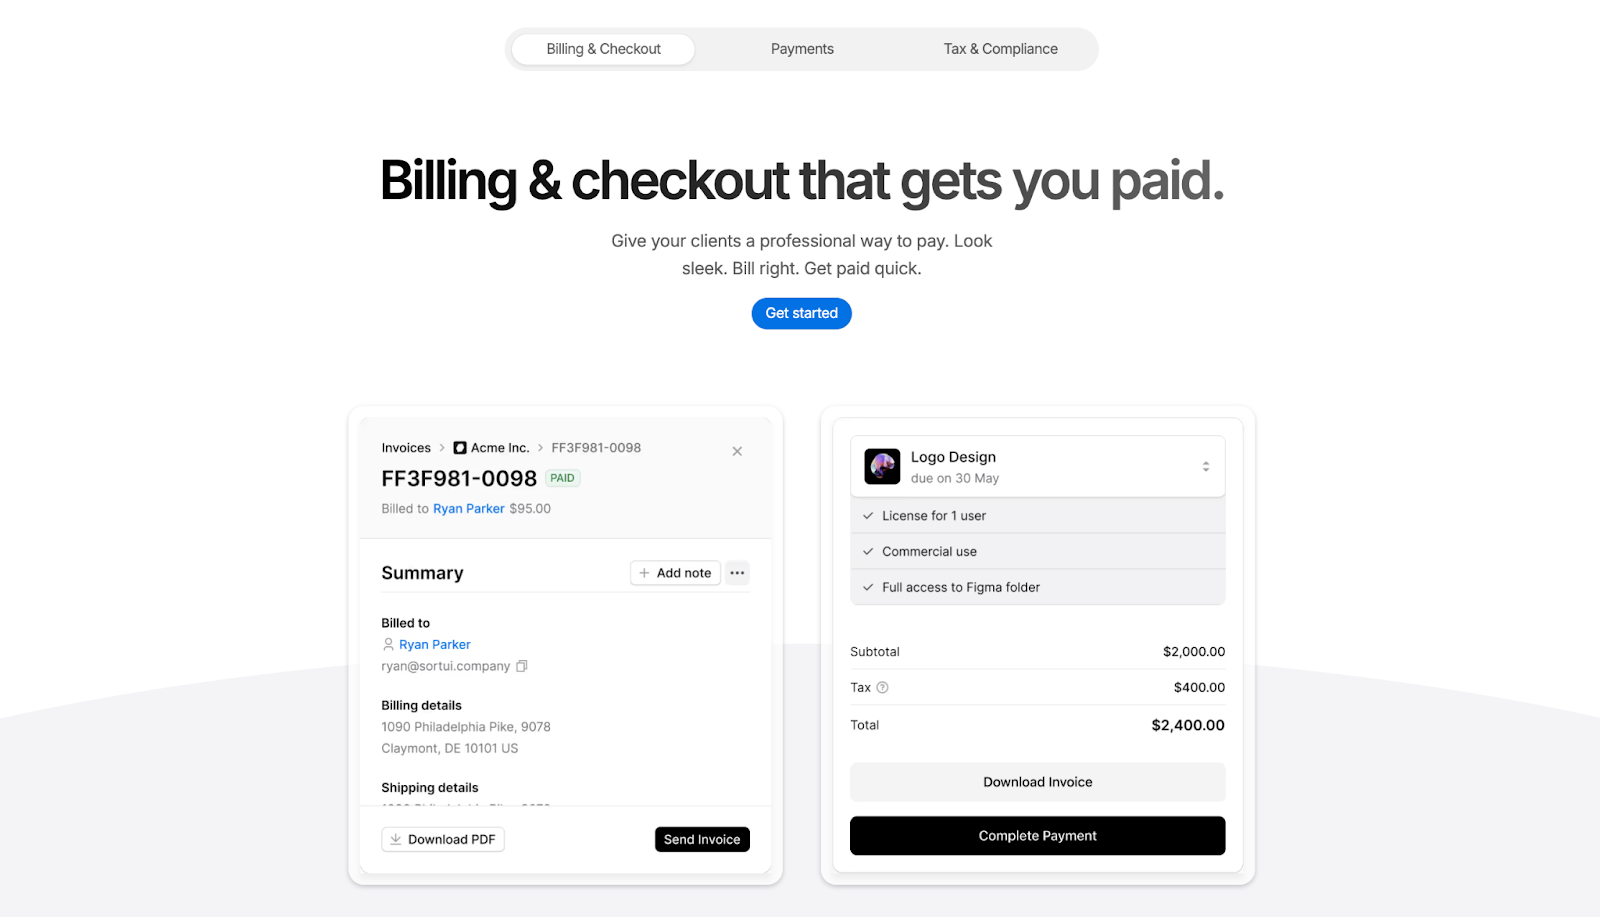
Merchant of Record (MoR) is a service that appears as the seller on your customer's invoice and handles all taxes and payment collection on your behalf.
Even if you don't know about
- invoicing,
- VAT,
- sales taxes, and
- legal compliance,
you can handle it all with a MoR.
Unlike the others on this list, you'll have almost no legal responsibilities.
➞ Your job: deliver the work.
➞ Their job: manage the legal and financial side.
Not only do they help you issue invoices, but they also
- Collect payments from customers,
- Calculate VAT and sales tax rates,
- Report these taxes to the relevant authorities in each country, and
- Finally, pay you your earnings in the manner you prefer.
In return, you pay a service commission.
Fees vary from platform to platform; With Ruul, you pay as you go (5% of the invoice amount).

You can use it for many things:
- To issue compliant invoices for your global clients
- To prevent payment delays with automated invoicing
- To automate recurring service packages and subscriptions
- To get paid in 140+ currencies from 190 countries within one day
- To receive instant payments in USDC via Binance integration
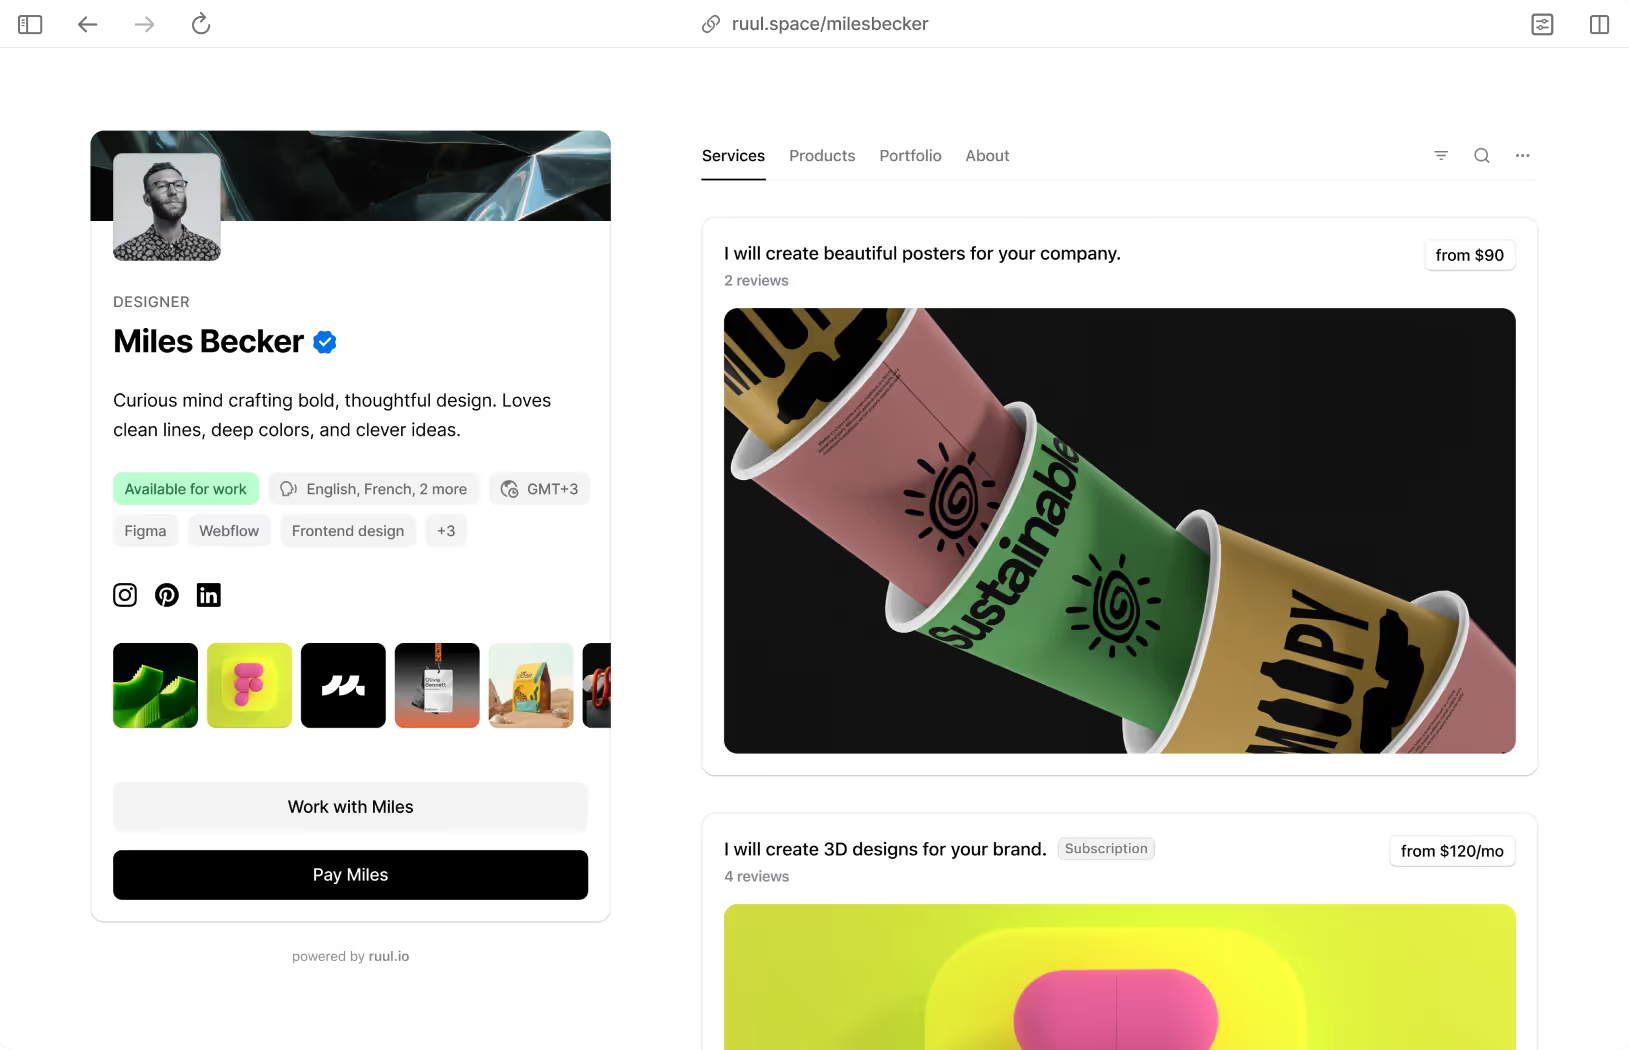
- To build your portfolio and create digital assets with Space
- To sell services, subscriptions, and service packages
A solution that minimizes disagreements and makes freelancers truly say, “Wow!”
3 common invoice mistakes freelancers make
Sending the invoice too late or rushing it
If your invoice is delayed, your payment will be too. On the other hand, if you rush it, you might make mistakes that cause problems later.
What to do?
The best time to issue your invoice is right after delivering the project or on the date you agreed on with your client.
But don’t rush, double-check key details like the due date. Also, find out who handles accounting or approves invoices on the client’s side and make sure to send it directly to the right person.
Pro tip: With Ruul, you can automate recurring invoices for regular clients. That means no more manual invoicing or reminders every month, payments will always arrive on time.
Missing or unclear information on the invoice
Your client knows what you did, but if your invoice is incomplete, their accountant might ask: “What are we paying for?”
What to do?
Your invoice should always include:
- Your name / business name
- Client’s name / company
- Project description (what was done, and within what timeframe)
- Payment amount
- Invoice number
- Issue date
- Due date
You can list service details line by line, for example: “UX design – 10 screens, 2 revisions.”
This creates transparency for both you and the client, and helps you look back later without confusion.
Issuing invoices without a contract
If you don’t make contracts a habit, there’s a high chance you’ll one day say, “I wish I had.” When payment terms, revision rights, or delivery dates are unclear, both your head and your client relationship will suffer.
What to do?
Make a contract. Don’t be afraid, no one will think it’s weird. If someone resists, explain that it’s not about distrust but about protecting both sides’ rights. And if they insistently refuse, that’s already a red flag.
A simple contract template will do the job.
- What will be done?
- When will it be done?
- When will the payment be made?
- What happens if the payment is delayed?
Protection tip: To reduce late payments, include details like “If payment is not made within 14 days, a monthly X% late fee applies.”
You’re now issuing invoices, so what happens next?
Of course, you’re not issuing invoices just for the sake of it.
You’re doing it
- to declare your taxes in the future,
- to track your income and expenses, and
- to identify any past invoice issues that may arise later.
Organize your invoices
If you’re not using an invoicing tool or a Merchant of Record, organizing your invoices is up to you. The simplest way is to use a Google Sheets, an Excel file, or a Notion template.
For example, you can name your files like this:
- 2026 > January > Client_Name > Invoice.pdf
Make sure to label them in a way that’s easy for you to find and clear enough for official institutions if needed.
Pay your income tax (the main tax for every freelancer)
This is the most essential tax freelancers pay. At the end of the year (or quarterly), the total amount of your issued invoices represents your gross income.
How it works:
- Invoice = income record
- All invoices issued throughout the year = total revenue
- Your expenses (e.g., software licenses, equipment, travel costs) are deducted
- Remaining amount = taxable income
Then it’s taxed according to your country’s system:
- US → federal + state income tax
- EU countries → personal income tax
- UK → Self Assessment Tax Return
- Canada → self-employment income
- Australia → income tax under an ABN
Since invoices officially document your earnings, they serve as the main source for every tax period. That’s why I’ve emphasized multiple times the importance of organizing and storing them properly.
‼️ Regardless of which invoicing method you choose (even a Merchant of Record that handles everything), it cannot pay your income tax for you. You’re always responsible for paying your income tax yourself, ideally with the help of an accountant.
Collect Sales Tax / VAT / GST
At the end of each tax period, you’ll need to file your monthly or quarterly VAT and withholding tax returns with your accountant.
These taxes are related to how your service is taxed on the client’s side. Unlike income tax, they’re not taken from your earnings but from the total sale amount.
They differ by country:
- 🇪🇺 In Europe → “VAT” (Value Added Tax)
- 🇬🇧 In the UK → “VAT”
- 🇨🇦 In Canada → “GST/HST”
- 🇦🇺 In Australia → “GST”
- 🇺🇸 In the US → “Sales Tax” (not federal; varies by state)
When issuing an invoice, this tax is usually added automatically to the total amount (e.g., 20% VAT, 10% GST).
🤝🏻 If you don’t want to calculate it manually or deal with the hassle, you can issue VAT-compliant invoices through Ruul. Everything’s handled automatically.
3 critical reasons why freelancers should issue invoices
“Issuing an invoice” is both a turning point and one of the most postponed steps in a freelancer’s career. If you’re at the “should I or shouldn’t I?” stage, I’d like to sum up why it’s such a critical move under three key points.
In the client’s eyes, you become a “business partner.”
An invoice is proof that you’re working “officially” for a client. And companies’ biggest fear is anything that looks unofficial. They want to avoid legal trouble, so they’ll only hire you once you can issue invoices.
Working with someone who issues invoices gives clients this sense of trust:
— “This person records their work, won’t disappear, and takes it seriously.”
Sure, not invoicing yet doesn’t make you any less skilled, but it can make it seem like you’re doing it as a hobby. It’s just the general perception. But the moment you mention an invoice, you become a legitimate service provider in your client’s eyes.
Corporate clients can’t pay you (unless you have an invoice).
Some companies simply refuse to make payments without an invoice. It’s not because they don’t want to work with you. It’s because their accounting department literally can’t process the payment without an invoice.
You’re not buying “taxes,” you’re buying legal peace of mind.
Many freelancers think “invoice = tax nightmare.” But in reality, an invoice is a tool that protects you. If a client ever causes a dispute or mistreats you financially, that invoice in your hand becomes your official proof.
Secondly, once you start earning regularly, questions start circling in your head like, “Is it too early or too late to start invoicing?” or “What’s my legal situation, could I get fined?” and that uncertainty alone creates unnecessary stress.
When should you start invoicing? (3 ways to know)
If you still have a full-time job and your freelance income is small, it might not be the right moment yet. But if freelancing has become your main (or only) source of income, then yes, it’s time to start invoicing.
It’s actually in your best interest because issuing invoices means more clients, higher income, and being taken seriously as a professional. Leaving your work off-record or without invoices only puts your finances at risk.
Let me make this more concrete for you.
1) When you start getting work consistently
Suppose you’re receiving 2–3 high-budget payments per month, which usually counts as a steady income. You’ll also start realizing that your earnings are now big enough to be taxable (check your country’s laws about it).
And in this case, issuing invoices:
- Moves you out of the “gray zone” in terms of taxes,
- Builds trust with your clients,
- Creates a financial record (important for future loans, investments, or visa applications).
At this stage, it’s a good idea to start researching invoicing methods.
2) If you’ve landed a one-time but high-paying project
Working without an invoice is risky both for you and the client. Honestly, I can’t think of a better move than starting to issue invoices now, because the longer you postpone it, the harder it gets.
If you issue an invoice:
- Your work becomes officially recorded.
- Your income is documented.
- The client can deduct VAT (which benefits them too).
- And of course, your legal concerns are reduced.
3) When you move beyond freelance marketplaces
On freelance marketplaces like Upwork, Fiverr, or Freelancer.com, the system automatically issues invoices on your behalf. But once you start building your personal brand, finding clients on your own (via LinkedIn, Instagram, etc.), invoicing becomes your responsibility.
FAQs
1. How do freelancers make invoices?
Freelancers make invoices through five main methods: using templates, freelance marketplaces, payment processors, invoicing software, or Merchant of Record platforms. Each option differs in control, cost, and tax responsibility.
2. Can a freelancer issue an invoice?
Yes. Freelancers can issue real invoices once they start earning regularly. They can use invoicing software like QuickBooks or go further by using a Merchant of Record that issues compliant invoices on their behalf.
3. Do freelancers need to invoice?
If freelance work is just a side hobby, not issuing invoices is not a big problem at first. However, when this work becomes your main source of income or you start working with regular clients, issuing invoices will become legally and professionally mandatory.


